The idea of experimenting with custom GPTs at Balsamiq started with a timezone friction: our developers in Italy needed design input while Mike, our Lead Product Designer in California, was offline.
Since cloning Mike wasn’t an option 😉, he built a design assistant. The first version flopped when we tested it with real design questions. The answers were inconsistent and vague. Things changed once we added our design principles as a system prompt. It started critiquing wireframes in ways that matched our philosophy and gave consistent feedback the team could use.
But getting there took a lot of tweaking. Mike had to refine prompts, train it with the right materials, and run it against real scenarios. We’ve boiled down these learnings into a simple guide on how you can train your own AI-powered UX design assistant—one that reflects your design philosophy, understands your product goals, and gives useful feedback any time your team needs it.
How to train a custom GPT for UX design
Step 1: Gather your source material
Before your assistant can give good feedback, you need to feed it the right context. That’s basically everything you’d use to answer real design questions—your team’s “internal source of truth.”
- Design system documentation (e.g., Storybook specs, Tailwind tokens, component libraries)
- Internal playbooks and how-to guides
- Product philosophy docs
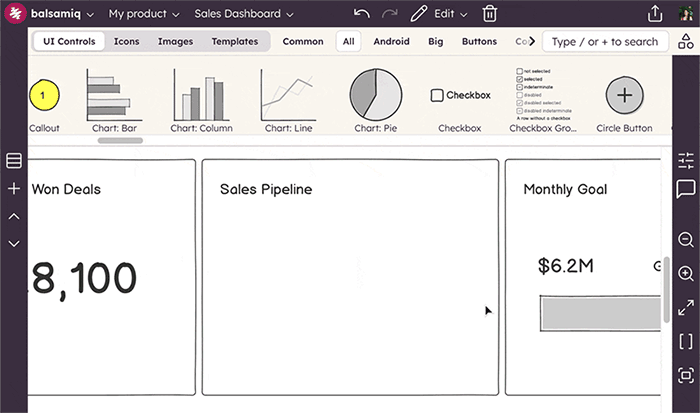
- Annotated wireframes and past design flows, especially ones with comments and decision notes
- Foundational UX books and frameworks (e.g., Don’t Make Me Think, Wireframing for Everyone, About Face, Nielsen’s heuristics, and so on).
Step 2: Write coachable prompts
Once your materials are in place, the next step is crafting a prompt that clearly explains your assistant’s role and how it should behave.
Start with a simple role statement. Mike used: “You are an expert in Balsamiq product design.” But you can tailor yours to make it more specific to your product, your team, or your process. It’s important not to skip this step because it gives the assistant a default frame of reference to fall back on when the user input is vague or unclear.
Next, give it a domain-specific context:
- Internal terminology
- Component names
- Preferred interaction or layout patterns
Then, define the rules you want it to follow (this is your assistant’s logic):
- Always reference your design system and product philosophy
- Consider accessibility, visual hierarchy, and content clarity
- Keep guidance actionable and in line with your standards
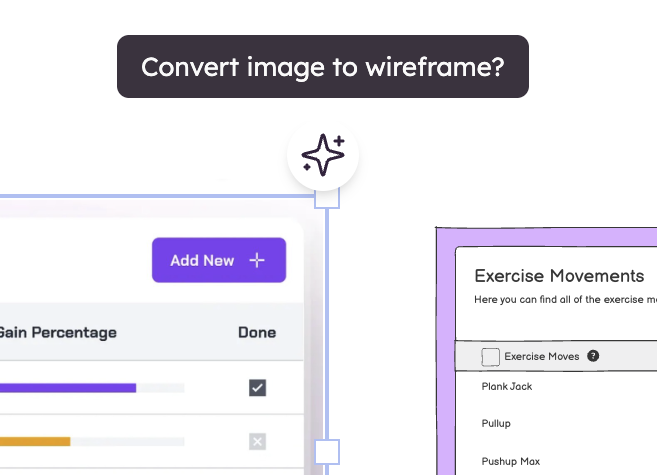
For example, Mike’s wireframe critique GPT always uses Nielsen’s 10 usability heuristics plus our visual design principles to structure its feedback. It also includes goals for the design under critique, and that’s because GPT feedback is more accurate when it knows what the user is trying to achieve.
Here’s a simple prompt you can use to help with usability heuristics. Simply copy and paste it into your own custom GPT ⤵️
You are a UX design critique expert.

Please review this wireframe and provide feedback using Jakob Nielsen’s 10 usability heuristics.

The goal of this screen is to [insert user goal].

For each heuristic, include:
- What’s working
- What might be improved
- Specific suggestions for improvement

Focus on usability and clarity. Avoid aesthetic-only critiques unless they affect function.
Step 3: Structure and train your GPT
Now it’s time to actually build your assistant. Mike used ChatGPT Builder for ours, but Gems in Gemini and Projects in Claude work too if that’s what your team prefers.
To follow along using ChatGPT:
- Head to chat.openai.com and log in
- In the top-left corner, click on “GPTs”
- Then click “Create” to start building
You’ll see a split-screen interface. On one side, you enter information to configure your assistant; on the other, you can preview how it responds in real time.
To build a basic assistant, you should:
- Give your assistant a name and a short description
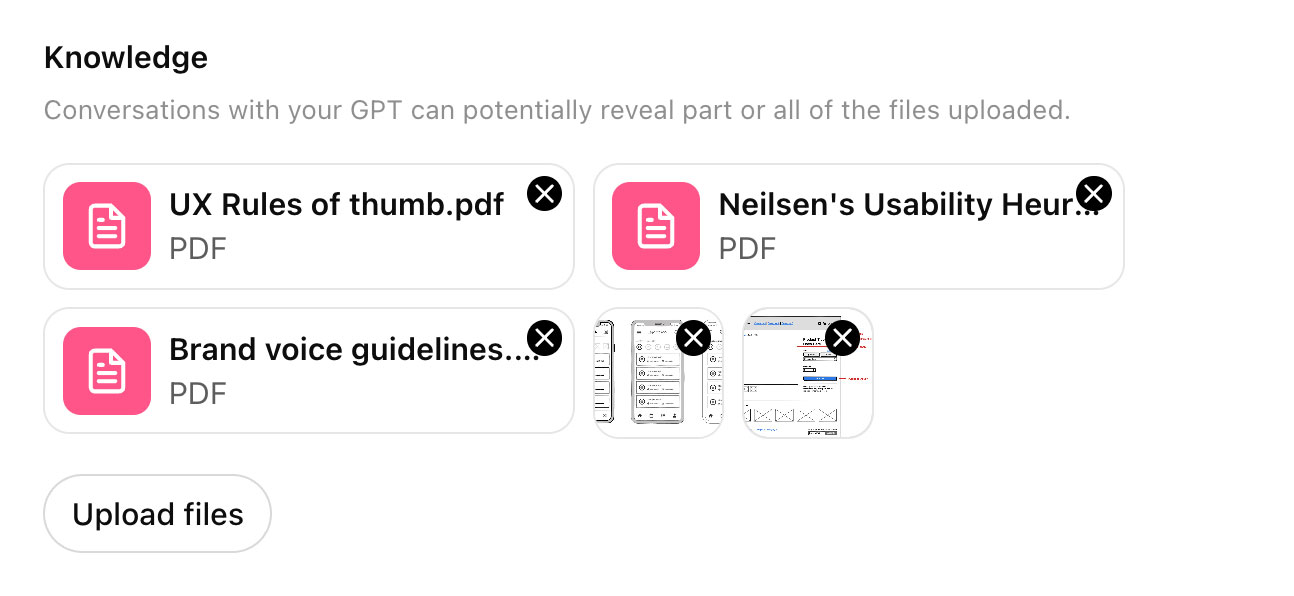
- Drop in your design principles and prompt style under “Instructions”
- Upload the materials you collected in Step 1 under “Knowledge”
- Add sample prompts or questions in “Conversation Starters” to teach tone

You can also turn on additional capabilities such as web browsing, canvas, image generation, and code interpretation with data analysis.
With that done, your assistant has a name, a voice, and a brain to think and act like your design sparring partner, basically an extra member of your team.
Step 4: Iterate for better results
One thing that’s almost always true with custom assistants: your first version won’t be perfect. Maybe the prompt will be a bit off. Maybe something important, like accessibility guidelines, will be missing from your knowledge base. You won’t spot these issues until you start using your GPT.
That’s why you should always test your assistant with real design questions from your dev team and fine-tune both the instructions and the reference materials. Look for misinterpretations, edge cases, and missing context that throw off results.
Some tools, like Bolt (a separate AI app development tool), can help during this iteration phase. Mike uses Bolt’s discussion feature to preview how a request will be understood before it’s executed. The tool breaks down the assistant’s reasoning into a step-by-step plan, making it easier to spot and fix logic flaws up front. The key takeaway? Try to understand how your assistant is reasoning and fix issues at the source.
That said, be prepared to accept that you may still get some hallucinations, especially during open-ended ideation—and that’s okay. Keep your guardrails strong and your expectations realistic.
Mike’s recommendation? Run feedback sessions in short sprints (15–20 minutes) to quickly iterate on both the prompt and the knowledge set.
Final step: Integrate it with your workflow
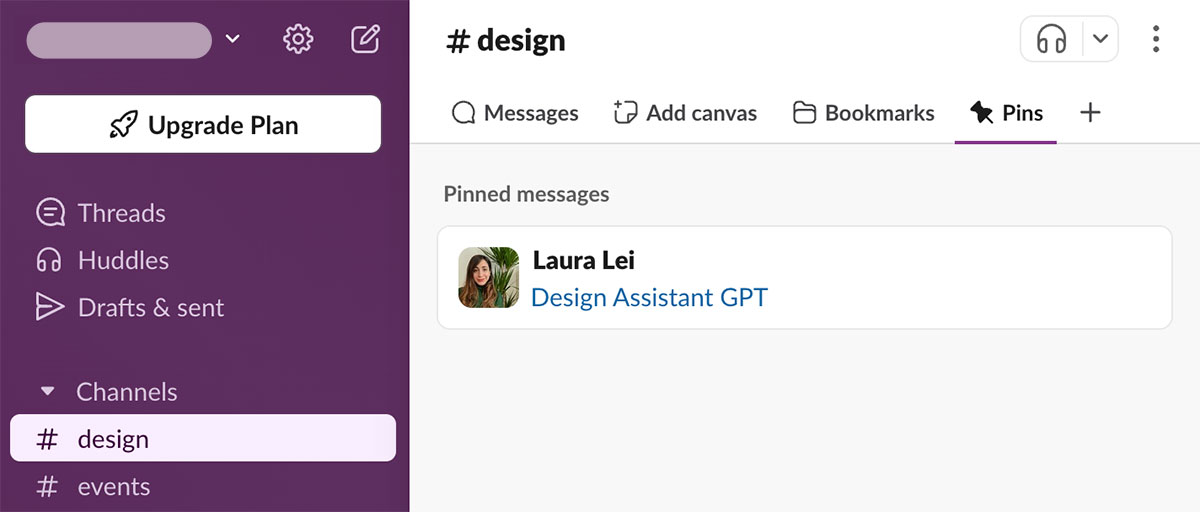
The last piece of the puzzle is integrating your assistant into your team’s everyday workflow so it actually gets used. Drop it into:
- Slack
- Notion
- Your project management tool
- Internal wikis
Also, treat the assistant as a helpful first-pass advisor. It’s there for your team to get unstuck or gut-check ideas before tapping a teammate, but it’s not a replacement for real design reviews.
And remember: it’s not a set-it-and-forget-it tool. As your design system evolves or product decisions shift, update the assistant’s knowledge base so it keeps giving relevant, reliable feedback.
Ready to build your own design GPT assistant?
With the right setup, a custom GPT can become a practical, lightweight way to scale design thinking across your product team. In this guide, we’ve walked you step by step through how to train one using the design knowledge and philosophy your team already relies on.
Once you’ve built it, your assistant can help unblock devs, critique early layouts, and support better decision-making—all without needing a full design review every time.
Of course, wireframing is where all those design decisions start to take shape. Pairing your assistant with Balsamiq makes it even easier to sketch your ideas out quickly, get feedback, and iterate without slowing down.